You want to make a wallet pass — for your gym membership, an event ticket, a loyalty card. You search "create apple wallet pass." Half the results talk about Xcode and signing certificates. The other half are subscription tools. Where do you start?
There are three real paths to creating an Apple Wallet pass in 2026, and which one is right for you depends entirely on whether you write code, how many passes you need, and how much you want to spend.
Create an Apple Wallet Pass — the 30-second answer:
- Path 1 (iPhone-only, free): apps like Wallet Creator or IntoWallet from the App Store. Quick, basic, iPhone-tied.
- Path 2 (anyone, paid per pass): browser tools like OtterWallet — €0.99 single, €1.99 ten-pack, no account, both Apple + Google.
- Path 3 (developers only): Apple's PassKit framework. Requires Apple Developer account, signing certificates, code.
This article walks through all three, then gives you a real step-by-step using the path most readers want — Path 2, the browser tool — and ends with what to do after you have your pass.
The Three Ways to Create an Apple Wallet Pass
Path 1 — iOS Apps (Wallet Creator, IntoWallet)
If you have an iPhone and just want to make one or two passes for personal use, free apps from the App Store are the fastest route. Search "wallet creator" or "IntoWallet" on the App Store, install, and you can build a basic pass on your phone.
What you get: template-based passes, free or with small in-app fees.
What you do not get: Google Wallet support, design flexibility, multi-pass batches, or the ability to design from a laptop. iPhone-only.
Best for: "I just want a single pass for myself, on my iPhone, today."
Path 2 — Browser Tools (OtterWallet, AddToWallet, PassCreator, PassKit)
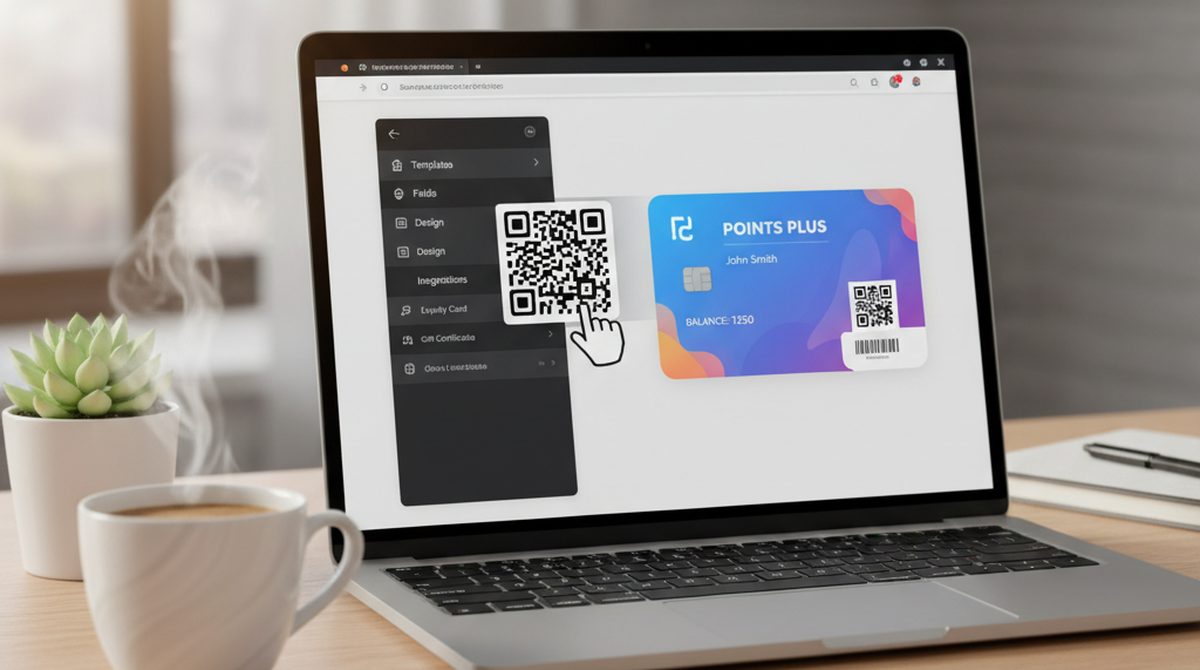
The middle ground — and where most people actually land. These run in any browser, work on any device, support both Apple and Google Wallet, and require no code. Pricing models vary:
- OtterWallet — €0.99 (
$1.05) single pass, €1.99 ($2.10) ten-pack. No account, no subscription. - AddToWallet.co — free 7-day trial, paid plans on request.
- PassCreator — €16/month for up to 200 active passes; €70/month for 1,000; enterprise tiers above.
- PassKit — enterprise-grade, API-first, quoted by volume.
Best for: anyone outside the iPhone-only and developer extremes — which is most people.
For a deeper comparison of all four, see our Wallet Creator guide.
Path 3 — Apple Developer SDK (PassKit)
The official Apple path, designed for engineering teams building wallet pass programs into their own products.
What it requires:
- An Apple Developer account ($99/year as of April 2026)
- A Pass Type ID and signing certificate (P12 file)
- Code that builds the
pass.json, fetches images, generates a manifest, signs it, and packages a.pkpassZIP
Best for: developers integrating wallet passes into a real product — a ticketing platform, a loyalty CRM, a transit app.
Not for: "I want one pass for my coffee-shop loyalty program." That is overkill.
Step-by-Step Walkthrough (Path 2)
We will use OtterWallet because it is the simplest browser path. The flow is similar across competitors.
Step 1 — Decide what your pass actually is
Before opening any tool, write down:
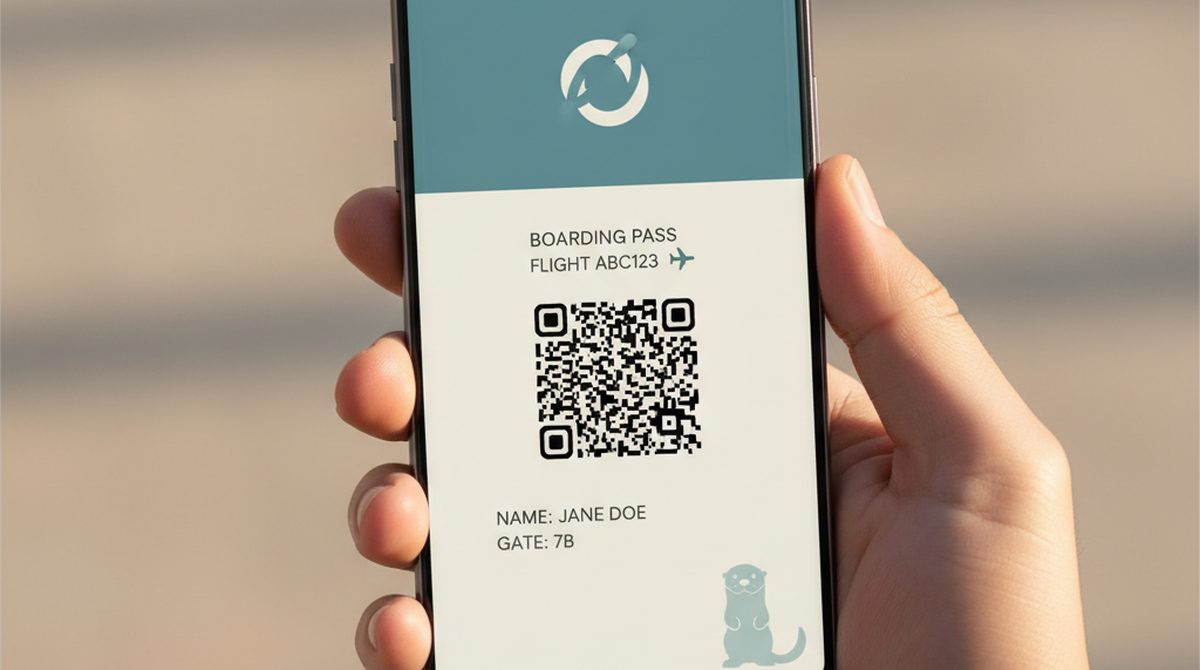
- Pass type: loyalty card, event ticket, gift card, membership, boarding pass.
- What goes on it: title, your logo, a barcode or QR (and what data the code encodes), expiry date, location trigger if relevant.
- Colors and brand feel: if your business has brand colors, have the hex codes ready.
Five minutes of prep saves twenty minutes of indecision in the tool.
Step 2 — Open the creator
Go to otterwallet.com on any device. No signup, no account creation — you land directly on the pass builder.
Step 3 — Pick the format
Choose Apple Wallet as your target. (You can also pick Google Wallet at the same time if your audience is mixed — both formats from the same source.)
Step 4 — Upload your barcode or QR
Three ways to provide the code data:
- Drop in an image of an existing barcode (PDF, JPG, PNG)
- Drop in a PDF that already contains the code
- Paste the text or URL the code should encode (the tool will generate a fresh QR/barcode for you)
The browser reads the input client-side — your barcode data does not leave your device until you check out.
Step 5 — Customize
Fill in:
- Title — what shows at the top of the pass ("Beans & Steam Loyalty," "Workshop Ticket," etc.)
- Logo — upload an image (PNG with transparency works best)
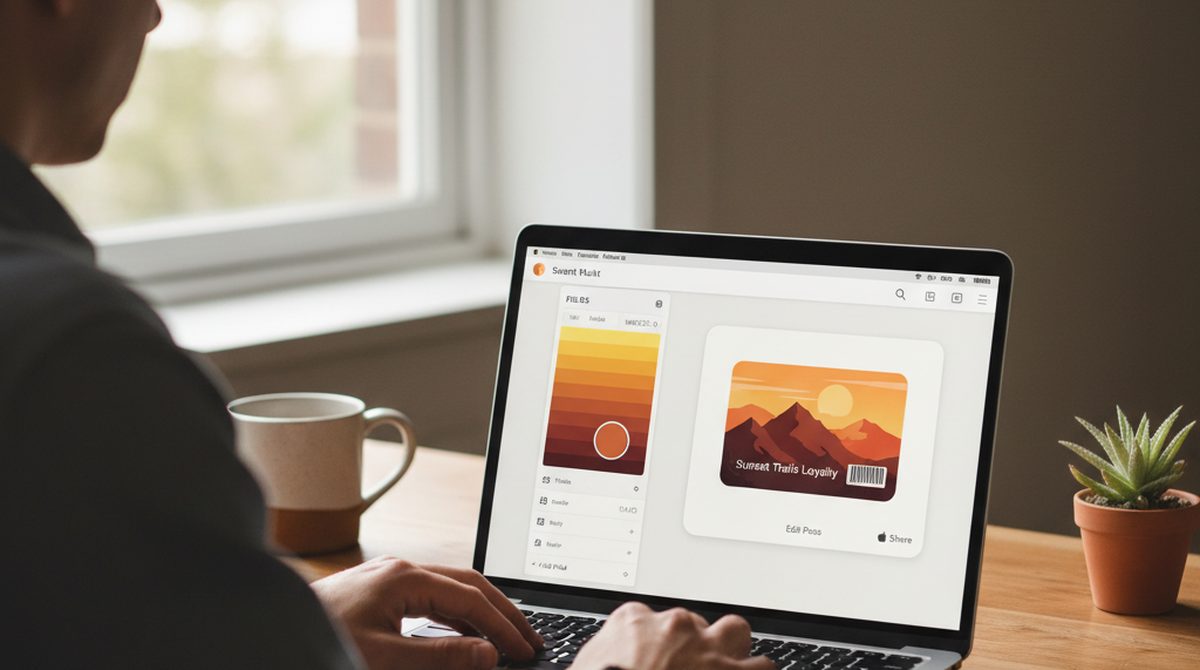
- Background color — your brand color or a neutral tone
- Field labels — the data shown on the front and back of the pass ("Member name," "Expiry," "Studio")
- Optional: strip image (the colored band at the top), expiry date, location for lock-screen triggers
Step 6 — Preview
Most browser creators show a real-time preview as you type. Adjust until it looks right.
Step 7 — Download
Click Create. Pay €0.99 at checkout (no account creation required for OtterWallet). You receive a .pkpass file. On an iPhone, tap the file — Apple Wallet opens it automatically and offers to add it. On Android, see our Android Wallet Pass guide for the open-with options.
That is the whole flow. End to end, under sixty seconds once you know what you want.
Try it now — create your first Apple Wallet pass →
What You Need Before Starting
Have these ready before you open any tool — it cuts the time in half:
- The barcode/QR data — either as an image or as the raw string/URL it should encode.
- A logo file — PNG with transparent background, ideally square, at least 200 × 200 px.
- Your brand colors — hex codes if you have them.
- Pass field text — the labels and values that go on the pass.
- An expiry date if applicable.
Common Mistakes to Avoid
A short list of what trips up first-time pass creators:
- Logo with a busy background — Apple Wallet shows the logo over your chosen color. A logo with a white square around it ends up looking like a sticker. Use a transparent PNG.
- Too much text — wallet passes have limited field space. If you write a paragraph, it gets truncated. One short label per field.
- Wrong barcode format — most loyalty programs use Code 128 or QR. Some readers (especially older ones) only accept specific formats. Match the format your scanner expects.
- Missing the expiry date — if your pass expires (event ticket, time-limited offer), set the date. Otherwise customers will keep showing up months later.
- Designing for one platform only — if you have any Android customers, generate a Google Wallet version of the same pass at the same time. Most browser tools let you do both in one go.
Apple Wallet Pass Anatomy
A wallet pass has more structure than it looks at first glance:
- Header — pass type icon (loyalty, ticket, etc.) plus your logo
- Front — primary fields (title, key information), background color, optional strip image
- Barcode/QR area — the scannable code, plus an "alt text" string shown below it
- Back — additional information, terms and conditions, contact details
- Lock-screen behavior — if you set an expiry or location, the pass surfaces on the iPhone lock screen at the right time/place
Most creators expose the front, barcode area, and back as editable fields. The lock-screen behavior is automatic if you fill in expiry/location.
After Creation — How to Share or Distribute Your Pass
A pass file by itself is not very useful. You need to get it to the people who will use it.
Single recipient: email the .pkpass as an attachment. iPhone opens it natively, Android needs PassWallet/WalletPasses.
Multiple recipients (50+): host the .pkpass files behind a download link, or use a tool that emits a per-customer link with their unique data. Some browser creators (PassCreator, PassKit) support templated batch generation.
Customer-facing on a website: add a small "Add to Apple Wallet" button next to the pass-download link. Apple provides an official badge you can use freely.
For ongoing programs (loyalty cards that update over time): browser tools issue static passes — once created, the data does not change. If you need live-updating passes (point balances, status changes), you need a platform with backend pass-update API support (PassCreator, PassKit, or a custom PassKit integration).
FAQ
Can I create an Apple Wallet pass for free?
Yes — App Store apps like Wallet Creator and IntoWallet are free, and AddToWallet.co offers a free 7-day trial. Free options have limits (templates only, watermarks, time caps). For unlimited free creation, you need to go the developer route — but that costs $99/year for the Apple Developer account.
Do I need an Apple Developer account?
Only if you go Path 3 (the SDK). Paths 1 and 2 (App Store apps and browser creators) handle the signing for you behind the scenes.
How long does it take to create a pass?
Under a minute once you have your barcode and logo ready. The first time, give yourself five minutes to learn the interface.
Can I edit a pass after I create it?
Static passes (which is what most creators emit) are not edited — you create a new one. Live-updating passes require backend integration.
What is the difference between an Apple Wallet pass and a Google Wallet pass?
Different formats: .pkpass (Apple) is a signed ZIP bundle; Google Wallet uses JWT tokens. Most modern creators emit both from one source. See What is .pkpass? for the format primer.
Are wallet passes secure?
Yes — they are signed and tamper-evident. The bigger risk is the sender of an unexpected pass, not the file itself. See the safety section in our pkpass primer.
Can I create the same pass for both Apple and Google Wallet?
Yes — most browser creators support both formats from one source. Generate both, and you cover iPhone and Android customers in one go.
Your Pass, Ready in Minutes
Three paths, three audiences:
- iPhone-only and personal: App Store apps, free.
- Anyone, any device: browser creators like OtterWallet — €0.99 per pass, no account, both formats.
- Developers building products: Apple's PassKit SDK.
For most readers, Path 2 is the right fit. Pick a tool, prep your barcode and logo, and you have a working pass in under a minute.
Create your first Apple Wallet pass →